Tuesday, May 29, 2012

Reverse Applique

I've had a couple of questions about what "reverse" applique means? I thought I'd see if I could come up with a simple explanation for you all.

WHAT is reverse Applique?

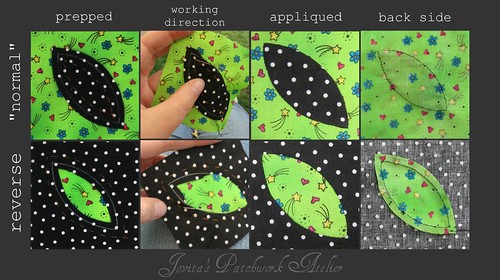
The term reverse applique applies when  the desired shape is cut out of the upper layer of fabric and appliqued along the inner edge of this "hole" to reveal the fabric below.


HOW IS IT DIFFERENT from "normal" Applique?

The easiest way for me to paraphrase this is ...
  • "normal" applique is stitched 
    • counter-clockwise around the 
    • outside of the shape which sits 
    • on top of the background.
  • reverse applique is stitched
    • clock-wise around the 
    • inside of the shape which sits 
    • beneath the background.
... of course this is if you are right hand-handed.
If you are left-handed ... "normal" applique is stitched clock-wise and reverse applique is stitched counter-clockwise.
Here's a quick photo-cap:

"normal" vs. reverse applique
Down-load a printer friendly version of this picture tutorial here.

WHY do reverse Applique?

One reason for doing reverse applique instead of "normal" is that the background fabric would show through ... for example if you were appliquing a white snowman or ghost onto a darker background. You would get what is called "shadowing" or "ghosting" around the inside edge of the applique shape. So you could applique the lighter object behind (in reverse) your background.

Before I decided that my black fabric should be on top, I checked if there would be a problem.  See that black showing through in the top picture? Well that means that if I had appliqued a green melon shape on top of the black, you'd not only see a green ghost (in the seam allowance) but also the black showing through the middle.  I could have avoided the black in the middle if I cut my background out from my applique but I *almost* never do that.

Of course there are other practical, dimensional and even fun reasons for doing reverse applique.

For example when you want to add detail without adding another layer on top.  In both cases here the detail in the rose, leaves and star are created using reverse applique.

For my "boy" version of Bunnyhill Designs basket BOM, I am appliqueing a star first and then adding the elements of each month's theme on top.  The outside edge of the star is of course "normal" applique, the inside is done using reverse applique.
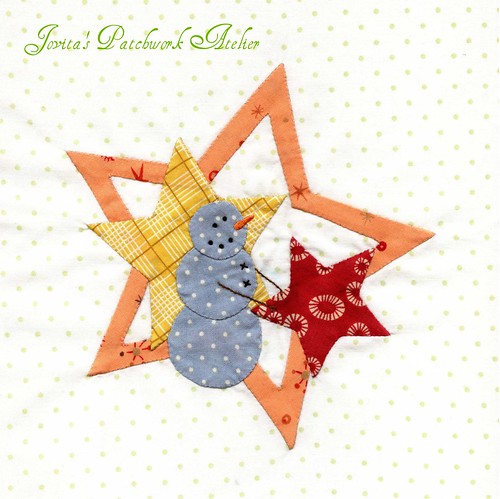
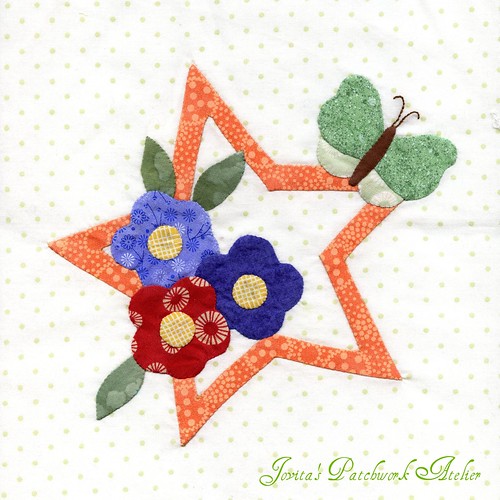
Tisket Star JANUARYBOM-5009

So, I'm sure you have more questions, so feel free to ask away and I'll do my best to answer them whether it's more about applique or anything else you're curious about.

Happy stitching!  Jovita
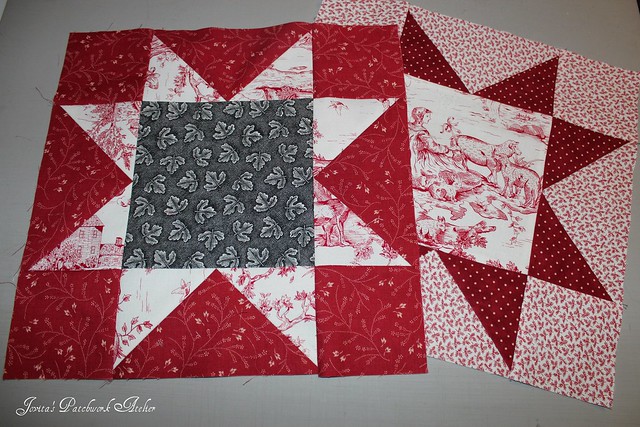
Morning Star

This is a picture heavy post .. lots of pictures showing you 
how I pieced and pressed this block.

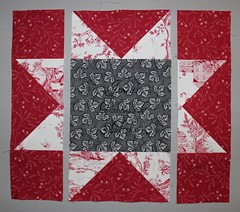
Morning Star - Block 1

Instead of just showing you how to make simple Flying Geese, we'll construct the first block of our Morning Star, Morning Bright Block of the Month.

1.1 Morning Star - the piecesYou'll start with cutting all your pieces:


Background:
   A  FOUR 3-1/2" squares
   B  FOUR 3-1/2" x 6-1/2" rectangles

Star:
   C  EIGHT 3-1/2" squares

Center:
   D  ONE 6-1/2" square


IMG_0070
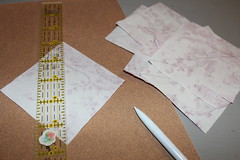
On the wrong side of all C squares, draw a line diagonally from corner to corner. I use a regular sharp or mechanical pencil. One good tip is to lay the square on a piece of fine sand paper so things don't scootch around. To preserve the markings on your ruler, apply one layer of clear packing tape and then trim around the ruler. Replace as necessary.


1.2 Morning Star - "Wasteful" GeeseNow you're ready to make the flying geese units for the block - you'll need four using pieces B and C.
1.3 Morning Star - Flying Goose and "Waste"

Referring to the handout provided with the block directions (click here) you'll place one C square even with three edges of a B rectangle and sew directly on the drawn line. Press and check before trimming - be sure to allow that 1/4" seam allowance.

Your seam allowance will be pressed toward the corner of the flying goose (see illustration on the left) and if you sew those "waste" triangles together you won't lose them because we can use them later. Repeat with the opposite corner ... and you'll have a flying goose plus two "wasteful" half-square triangle units.

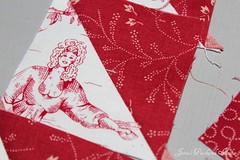
Cleavage - unplanned :)"Wasteful" Flying GeeseIf you make a bunch of blocks you can end up with a pile of half-square triangle units. Some might accidentally be even just a tad funny.

Ok, I'm getting just a tad distracted here ...

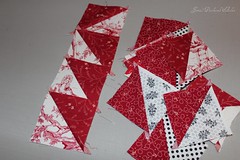
1.12 Morning Star (reverse)1.10 Morning StarOnce you have your flying geese units, you are ready to sew the block together in rows.

Press all seam allowances away from the geese.

Then you can sew those rows together into a complete block.


Wait! 
Are you wondering 
how I pressed those "they were too bulky" and now they're "funny looking" seams?

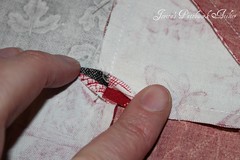
Here's a closeup. 

First I work on the back side as I open and twist the seam at the same time and press just that corner with the iron.

Morning Star - the twisted seam

I try to keep the "open" part of the seam as short as possible because I really AM . NOT . A . FAN of pressing seems open. 


Then I flip the block over and press the rest of the seam from the right side. And yes, I always press from the right side so that I am sure my seams are completely pressed to the side.

Morning Star - twisting the seamSo there you have it. A completed Morning Star block. Did I miss anything? Don't hesitate to tell me and I'll do my best to explain it further. In the meantime I'm off to get block two ready for you!

Happy sewing one and all and to all a wonderful flight! xox J